How to configure Genetec to work with the Cobalt Access Control Monitoring or Tailgate Monitoring integrations
This checklist does not need to be completed in the exact order. If you're blocked on some items, for example waiting for a firewall change, you can continue to work on other items.
1. Part Number
Install the part GSC-1SDK-COBALT-AR into customer's Genetec Security Center.
2. Networking Requirements
- Request the networking requirements from Cobalt. Email support@cobaltrobotics.com.
- Ensure the firewall configuration is complete and correct.
- Inform Cobalt that the firewall changes have been made so that Cobalt can confirm network connectivity.
3. Web SDK Activation
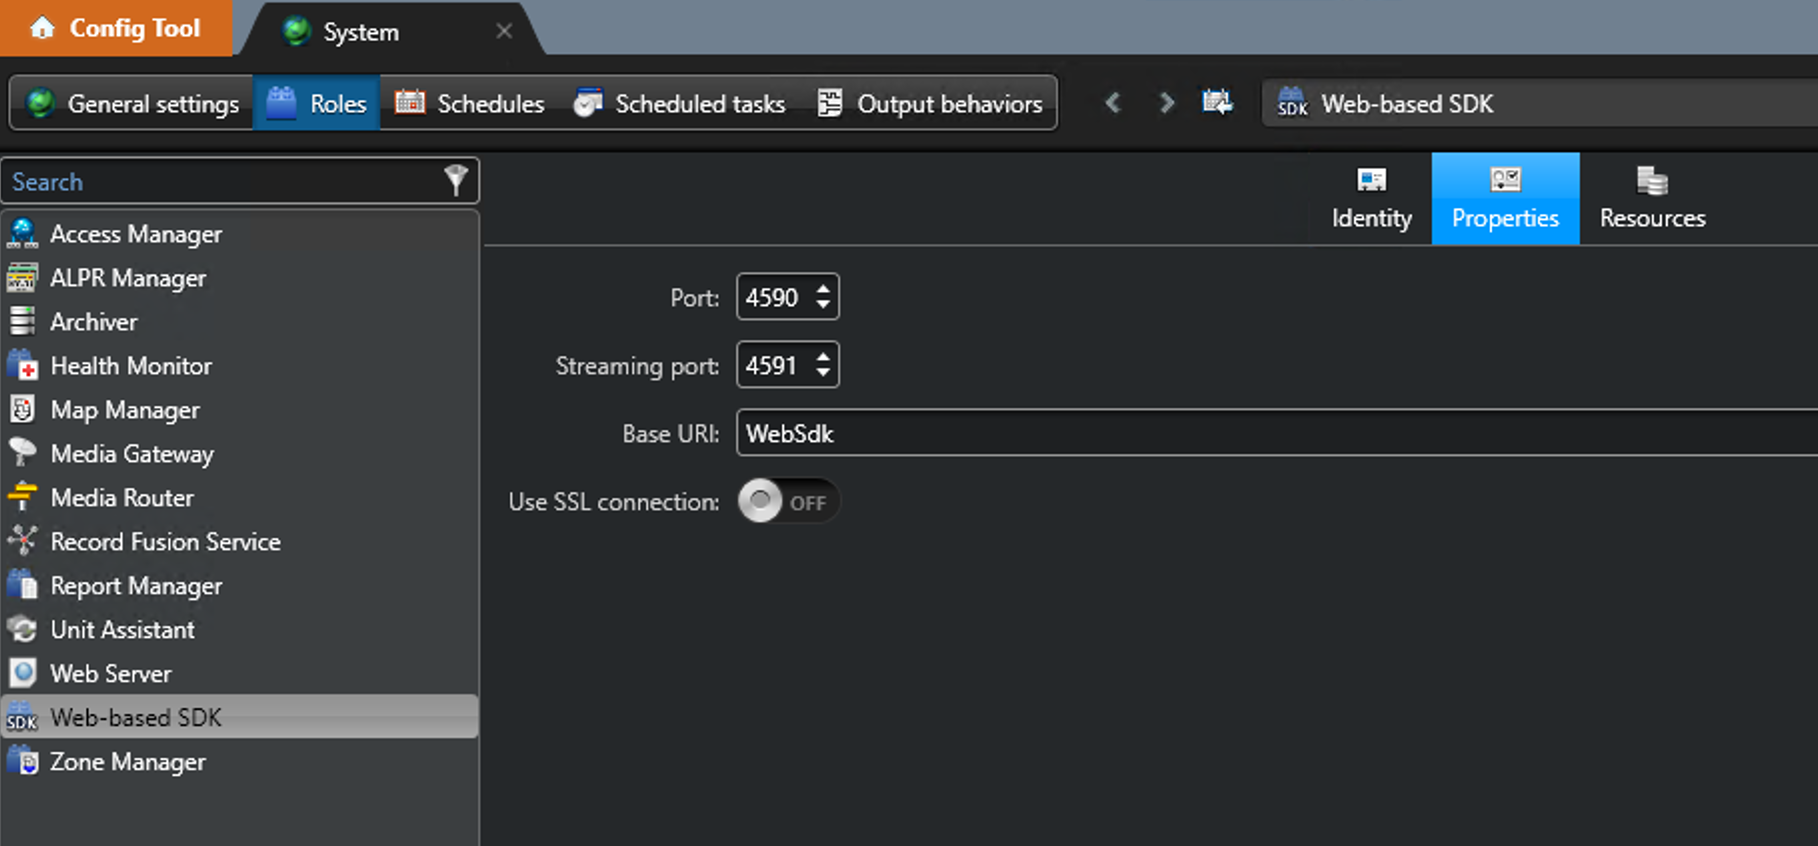
Activate the "Web SDK" using the Config Tool.
- Open the "System" task
- Choose the "Roles" tab
- If the "Web-based SDK" shows on the left side, then you already have the Web SDK installed. You may need to configure it more later.
- In the "Properties" tab, find any details you need about the Port, the Base URI, and SSL that Cobalt will need in the form later.
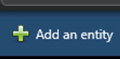
- If the Web-based SDK does not show up, you need to add the role:
- Click "Add an entity" in the bottom left corner
- Select "Web-based SDK"
- Fill out the information, leaving things as the default if you're not sure
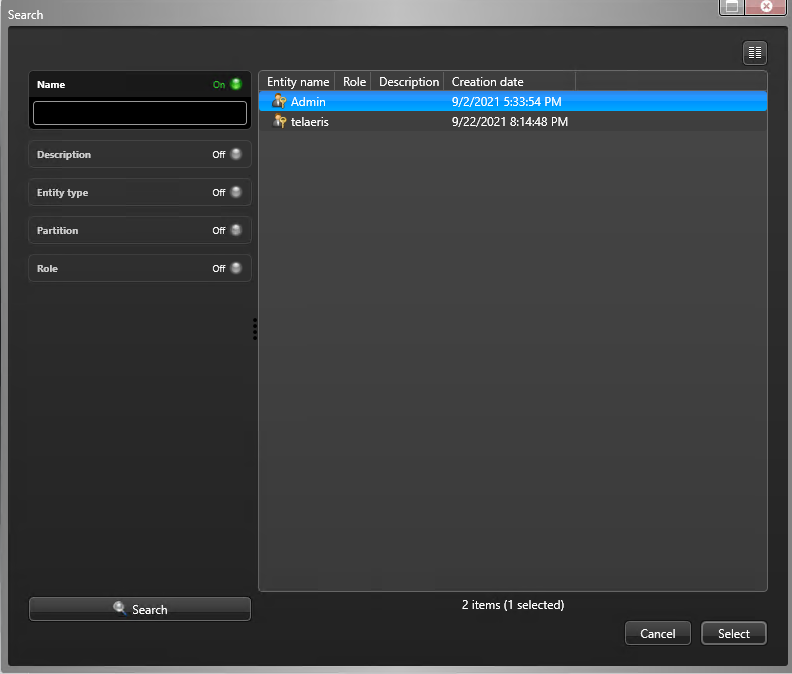
4. Add the Cobalt Robotics User
-
- Log in to the Genetec Config Tool as an administrator.
- Click on the "User management" task

- Click on "Add an entity"
- Choose "User"
- Set the Username to be cobaltrobotics
- Set the first name as "Cobalt" and the last name as "Robotics"
- Use a password manager like BitWarden to generate a secure password
- Cobalt's preference is that the password be at least 16 characters long and include numbers and letters
- Send the cobaltrobotics user's password to Cobalt Robotics via your organization's preferred secure method. (Cobalt's preferred method of sending passwords is via BitWarden, but we will defer to the customer's preference.)
- Grant the user the necessary permissions. See this page for which permissions must be granted and how.
-
5. Add "Custom Events" -- These are required for Cobalt to notify the customer about a robot's activity.
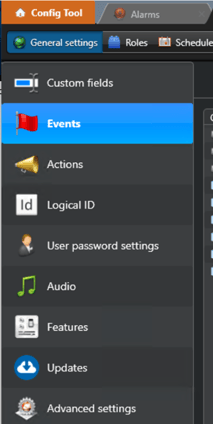
- Log in to the Genetec Config Tool as an administrator
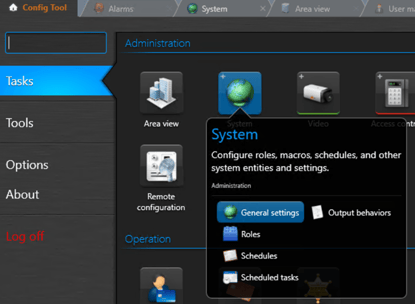
- Go to "System" -> "General Settings"
- Select "Events" from the left sidebar
- Ensure the "Custom events" tab is selected, and click the "plus" icon at the bottom of the page
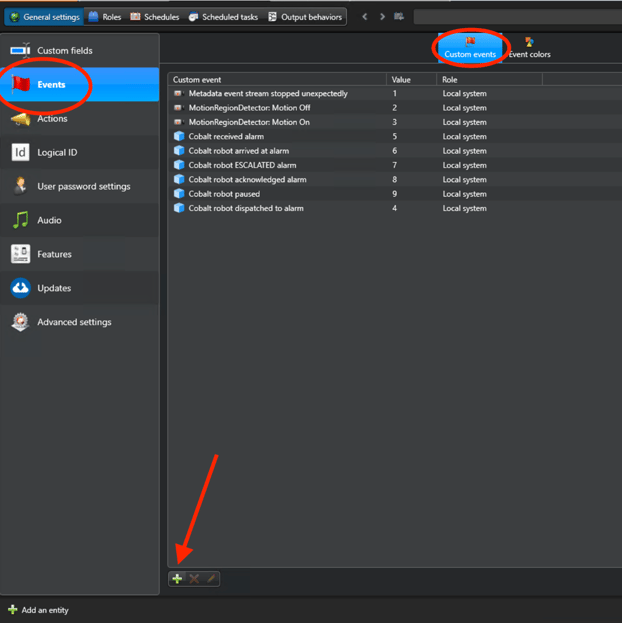
- Add a new Custom Event
- You should use "Custom Entity" as the "Entity type"
- You can use any "Value" you want, as you will be providing Cobalt with these values
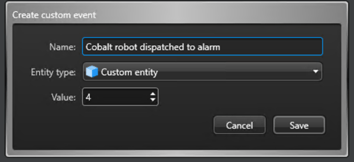
- Create the following Custom Events:
| Name | Value |
| Cobalt robot dispatched to alarm | * Fill this in from the value you chose, and send to Cobalt |
| Cobalt received alarm | * Fill this in from the value you chose, and send to Cobalt |
| Cobalt robot arrived at alarm | * Fill this in from the value you chose, and send to Cobalt |
| Cobalt robot ESCALATED alarm | * Fill this in from the value you chose, and send to Cobalt |
| Cobalt robot acknowledged alarm | * Fill this in from the value you chose, and send to Cobalt |
| Cobalt robot paused | * Fill this in from the value you chose, and send to Cobalt |
6. Configure a Cobalt Alarm
In order to escalate Cobalt events into your Genetec Security Desk, we need an alarm that our robot can trigger.
- Create a new alarm called "Cobalt Alarm".
- Ensure the alarm has a "Logical ID". Record this ID for when you submit the installation form to Cobalt.
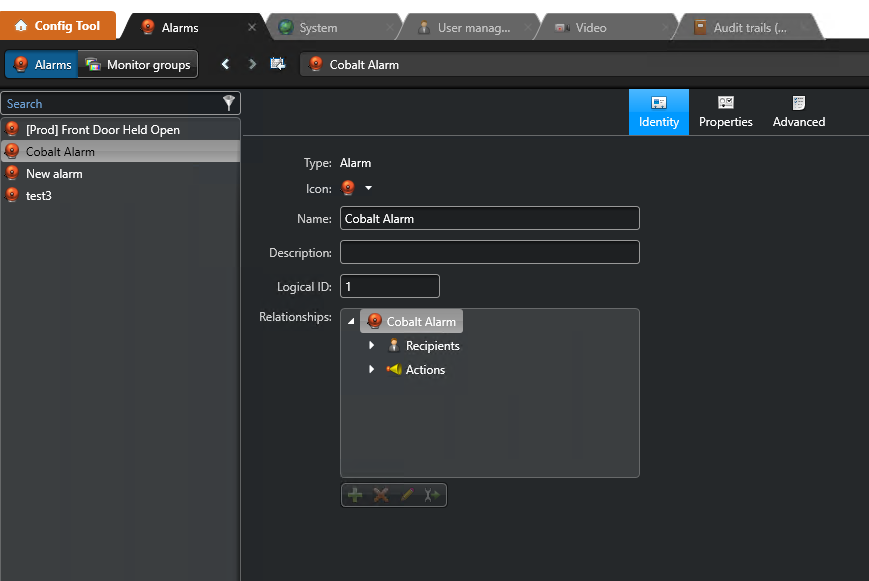
- Now that the alarm is created. Click on the alarm, go to Identity and then to the Relationships box. Expand Cobalt Alarm, click on Recipients and then click the green plus.
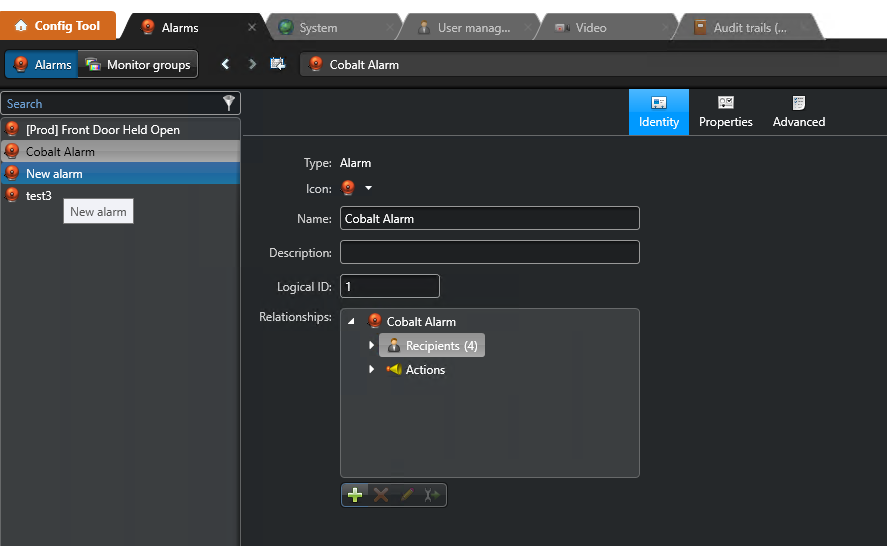
- Select the user or user group used for the site that wants to observe the alarms and then hit select.
- Select the "Advanced" tab.
- Set the "Reactivation threshold" to zero (0) seconds.
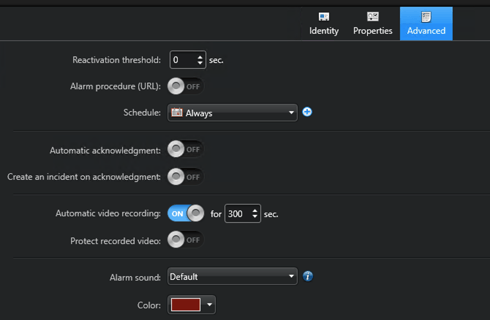
- Click Apply in the bottom right and you are done.