This guide will help you get started with streaming Cobalt cameras into a Milestone VMS.
If you run into any issues during your configuration process, please feel free to reach out to our technical support.
Here's how to set up Milestone with Cobalt's video cameras:
- Provide Cobalt with your Milestone server's public IP address, which we will allow-list for security. This is an important security step.
- Ensure your VMS server can access video.cobaltrobotics.com, port 8554. You may need to ask your network administrator to allow-list this address and port.
- Ask Cobalt for your configuration details
- Open Milestone Management Client
- Right-click a recording server and select "Add Hardware..."
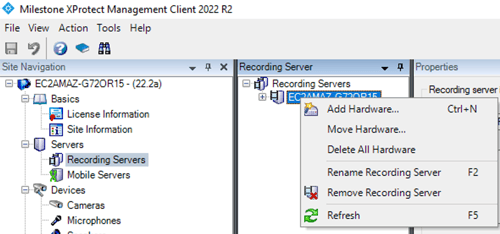
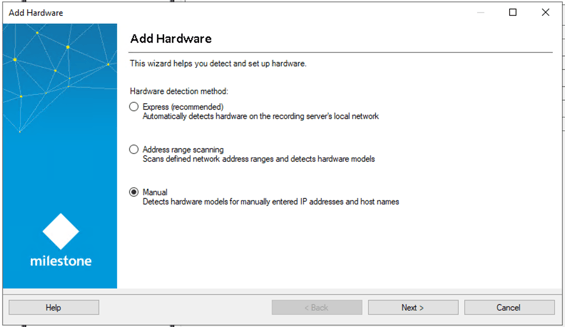
- Choose the Manual mode, click Next.
- Enter the username/password credential pair
- Click Next again to arrive at the driver selection page.
- Clear all selections and select "Universal" => "Universal 1 channel driver". Click Next.
- Note: If you want to stream multiple cameras, you'll need to use the "Universal 16 channel driver" or the "Universal 64 channel driver" instead. Each robot has 4 cameras, so if you are planning to set up 5 robots, that will be 5 * 4 = 20 cameras, and you should choose the 64-channel driver in that case, since the 16-channel driver will be too small.
- Select the driver as the driver you selected earlier (don't let it scan)
- Enter the host as "video.cobaltrobotics.com" and the port as "8554"
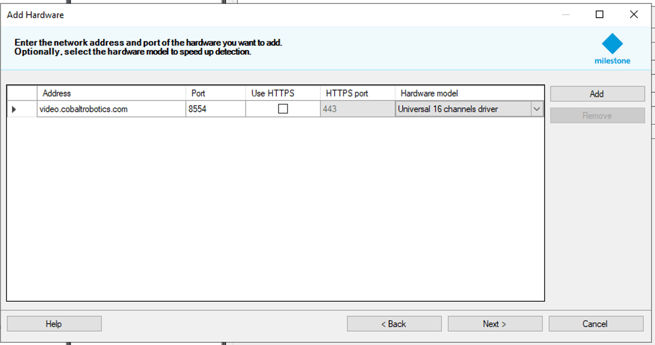
- Note: If you are now setting up a second or third "hardware", then you will need to use a different port.
This is a Milestone software limitation that prevents setting up multiple "hardwares" with the same Address and Port. In Cobalt's case, it is the norm to use the same Address and Port because we use the URI to indicate which camera to actually stream from.
We suggest 8555, 8556, etc. Just keep in mind that when you go to configure each camera, you should make sure that the camera setting's port is still 8554 as that's the only port that actually streams video.
- Note: If you are now setting up a second or third "hardware", then you will need to use a different port.
- You should see success
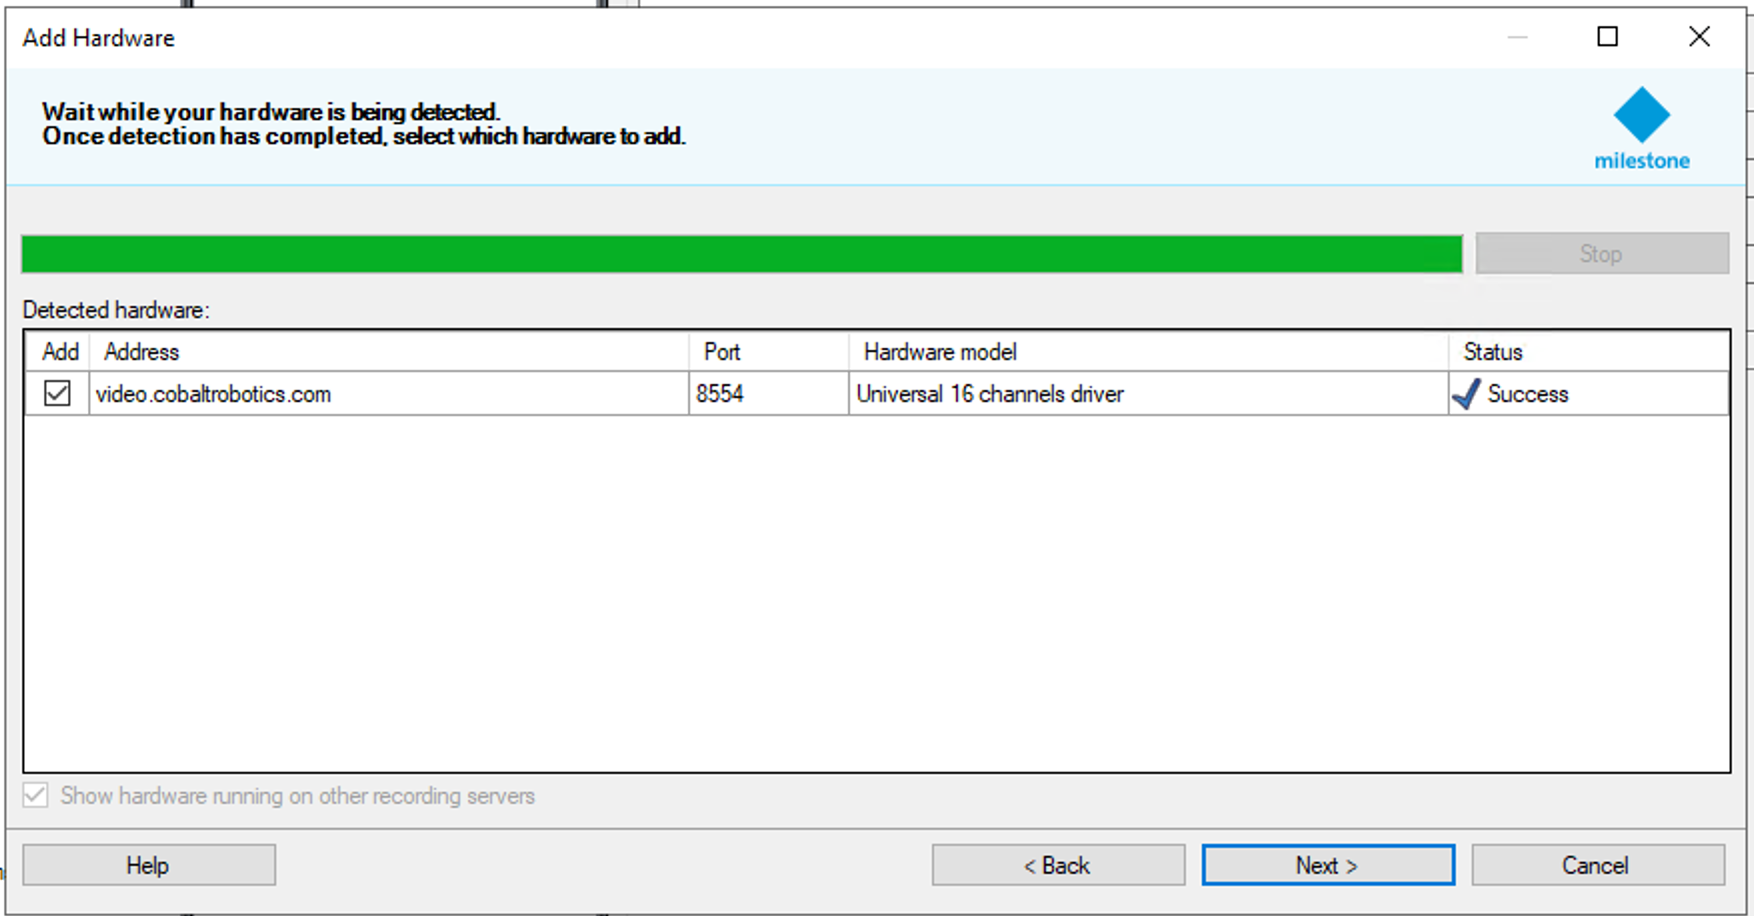
- Click Next
- Uncheck "Cameras"
- Finish the hardware setup wizard.
- Find your new hardware and give it a name, for example "Cobalt Robots".

- Note for advanced users only: If you have a lot of cameras to set up, it can be helpful to adjust your default cameras settings to speed up the following process.
- Expand the hardware to show the cameras inside it
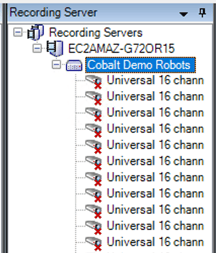
- For each camera you want to configure, open its "Settings" tab
- Set the "Connection URI" as given to you. Note: You should NOT include a slash in front of this URI.
- Set "Frames per second" to 30.
- Set "RTSP port" to 8554.
- Set "Streaming Mode" to "RTP/RTSP/TCP" -- or in some systems "RTP over RTSP (TCP)"
- Make sure the hardware you just configured is enabled and that the cameras you configured as also enabled. You can enable by right clicking the hardware and cameras, respectively.