How to configure OnGuard to work with the Cobalt Alarm Response integration
- Order and activate the Cobalt integration license in your OnGuard system:
- The part number you will need to purchase is IPC-341-CBLTR01-B. This number is what your VAR ("value added reseller" / integrator) will use to order and install the Cobalt software integration to your OnGuard system.
- If your VAR can't find this part number, they should reach out to SupportQuotes@carrier.com for support and CC support@cobaltrobotics.com
- Have your VAR install the license to OnGuard system.
- Feel free to have your VAR get in touch with Cobalt directly at support@cobaltrobotics.com
- The part number you will need to purchase is IPC-341-CBLTR01-B. This number is what your VAR ("value added reseller" / integrator) will use to order and install the Cobalt software integration to your OnGuard system.
- Ensure the EventBridge is running in your OnGuard system
- Add a user to enable Cobalt to subscribe to and send alarms
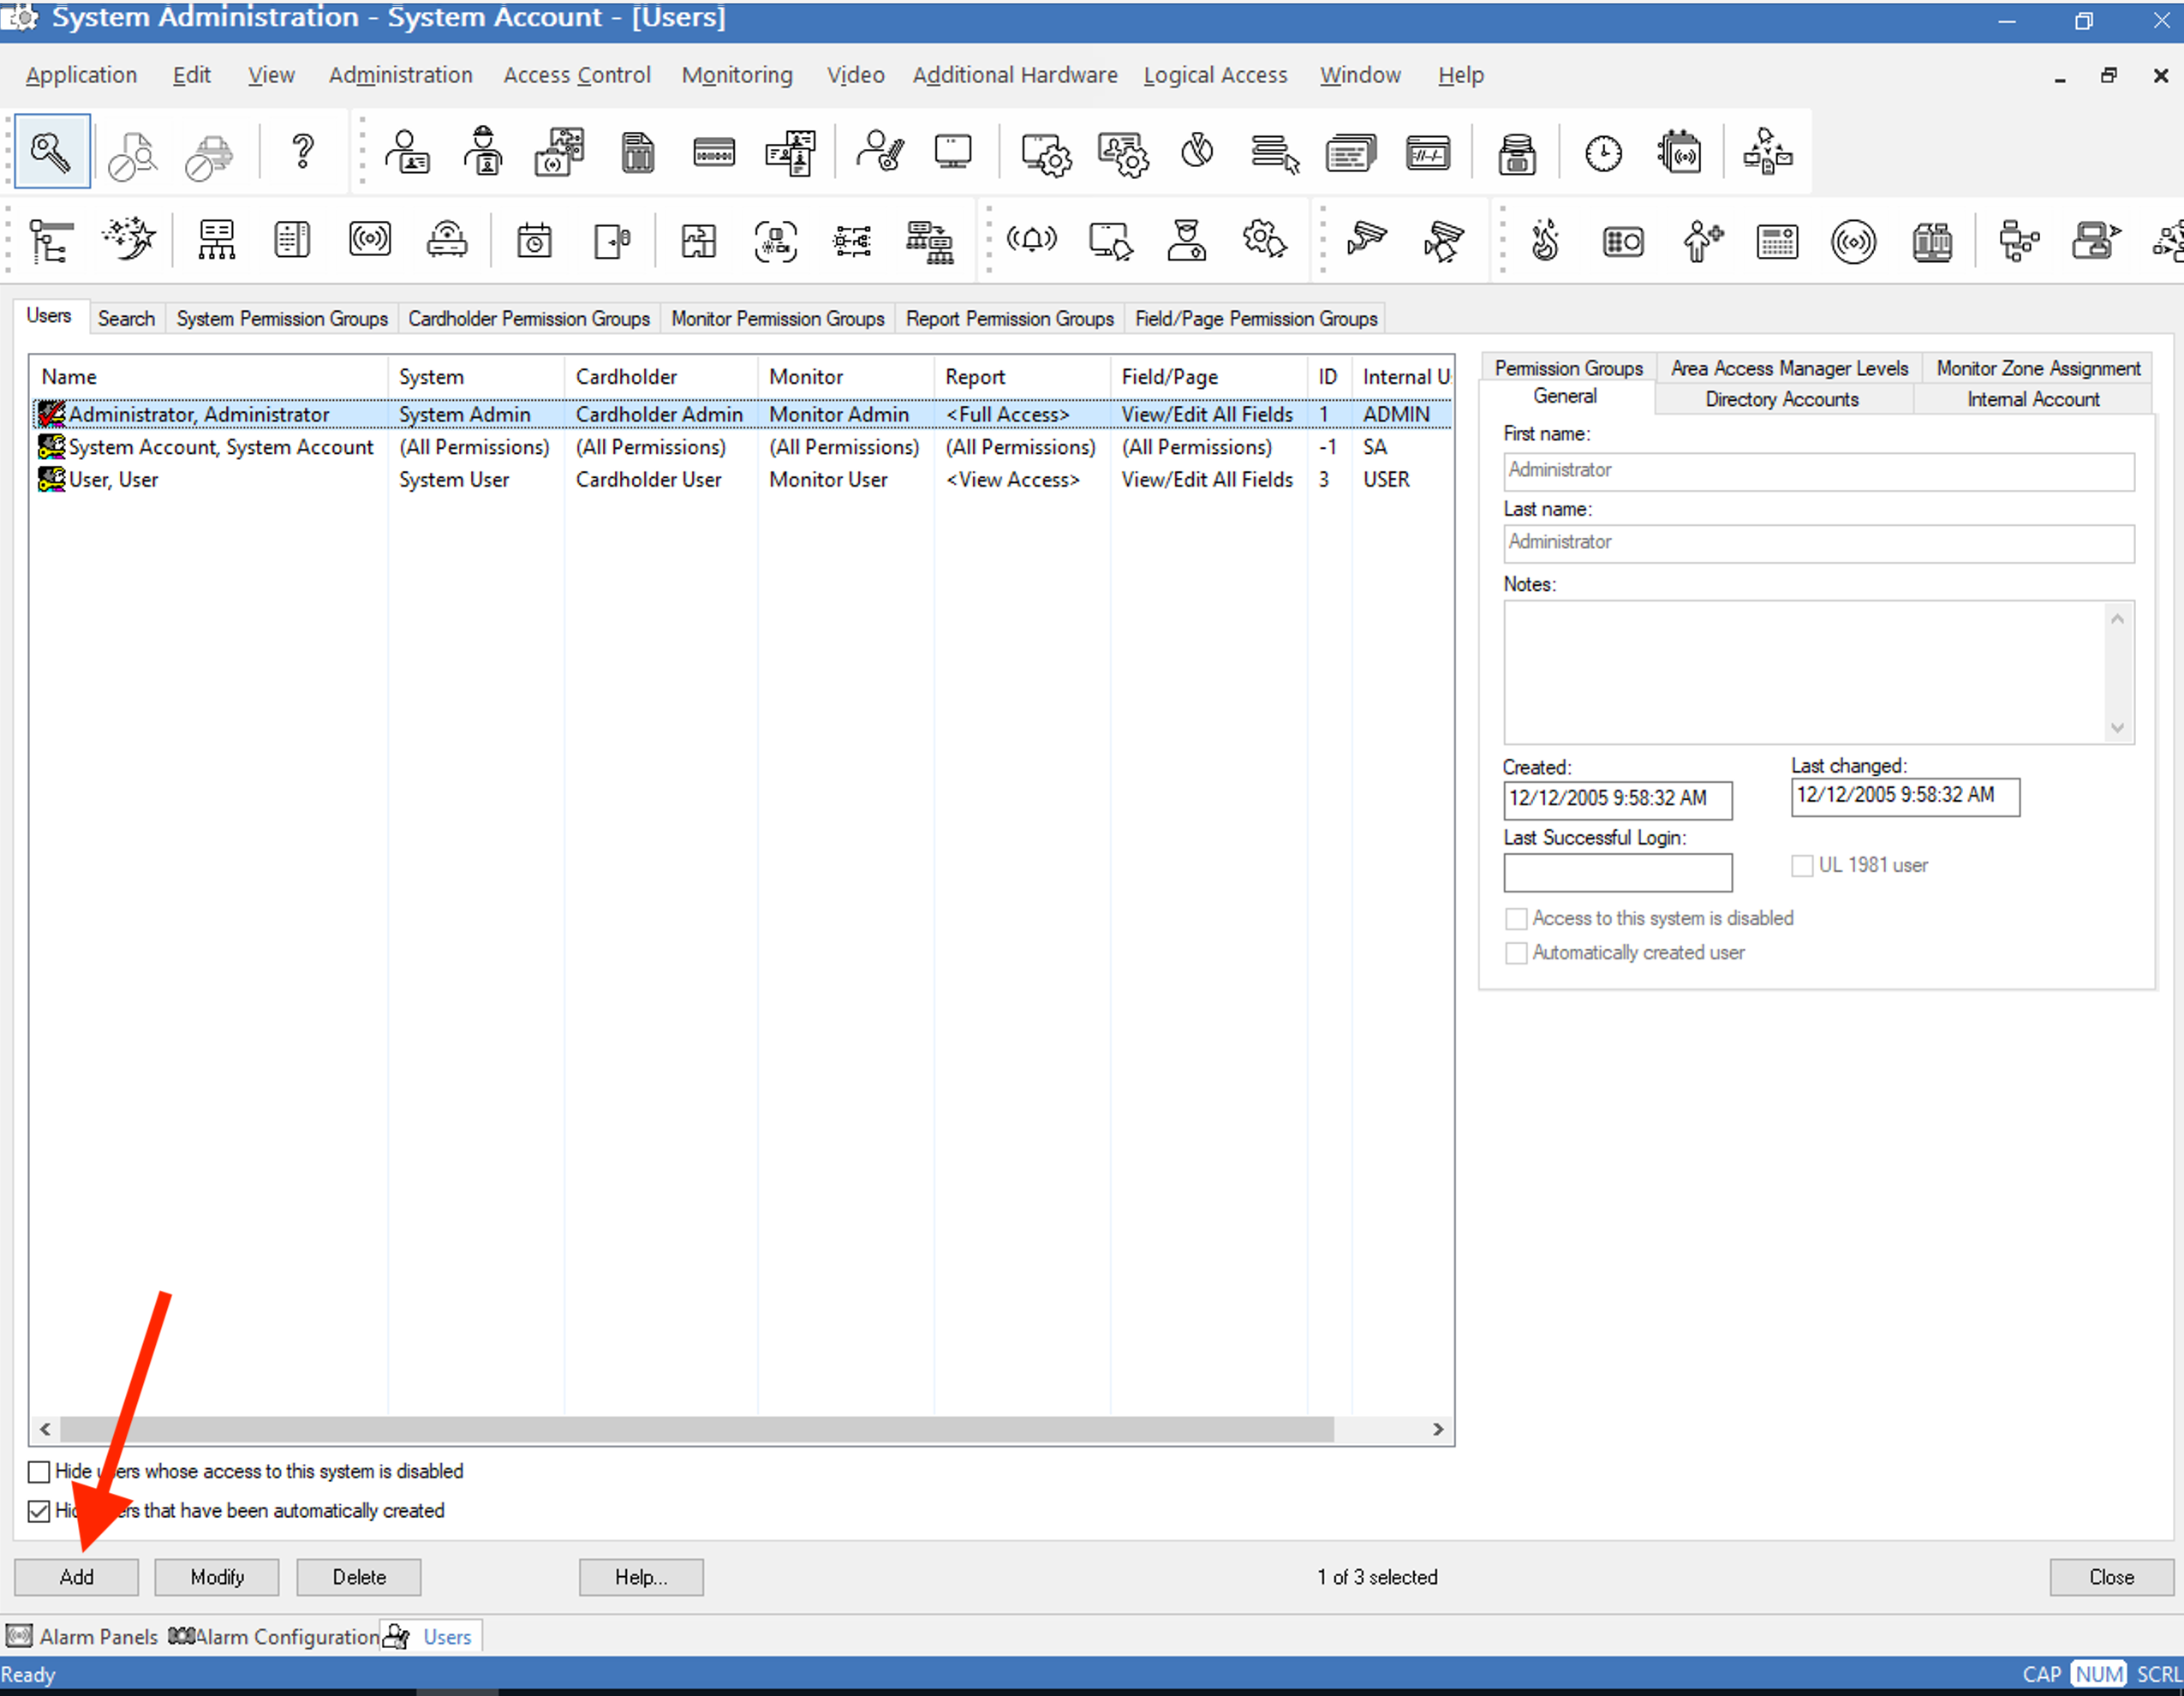
- Open the System Administration tool
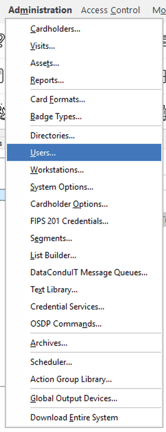
- Navigate to the "Administration" menu and choose "Users..."
- Click the "Add" button
- Under the General tab, set the First Name as "Cobalt" and the last name as "Robotics".
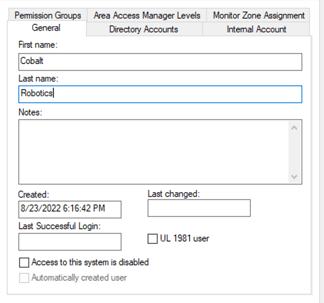
- Make sure the "Access to this system is disabled" is UNCHECKED
- Set the System dropdown to "System Admin". Note: These privileges are required for Cobalt to perform automatic configuration of the system. If you'd rather do the manual configuration, see Appendix A. "System Power User" is sufficient if you manually configure these steps.
- Set the Monitor dropdown to "Monitor Power User"Select the Permission Groups tab
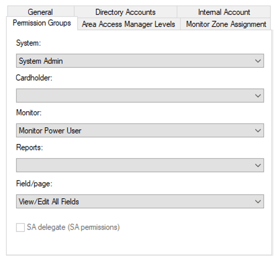
- Select the Segment Access tab, and choose "All Segments".
- If you want Cobalt to receive events for only particular segments, you can specify that here.
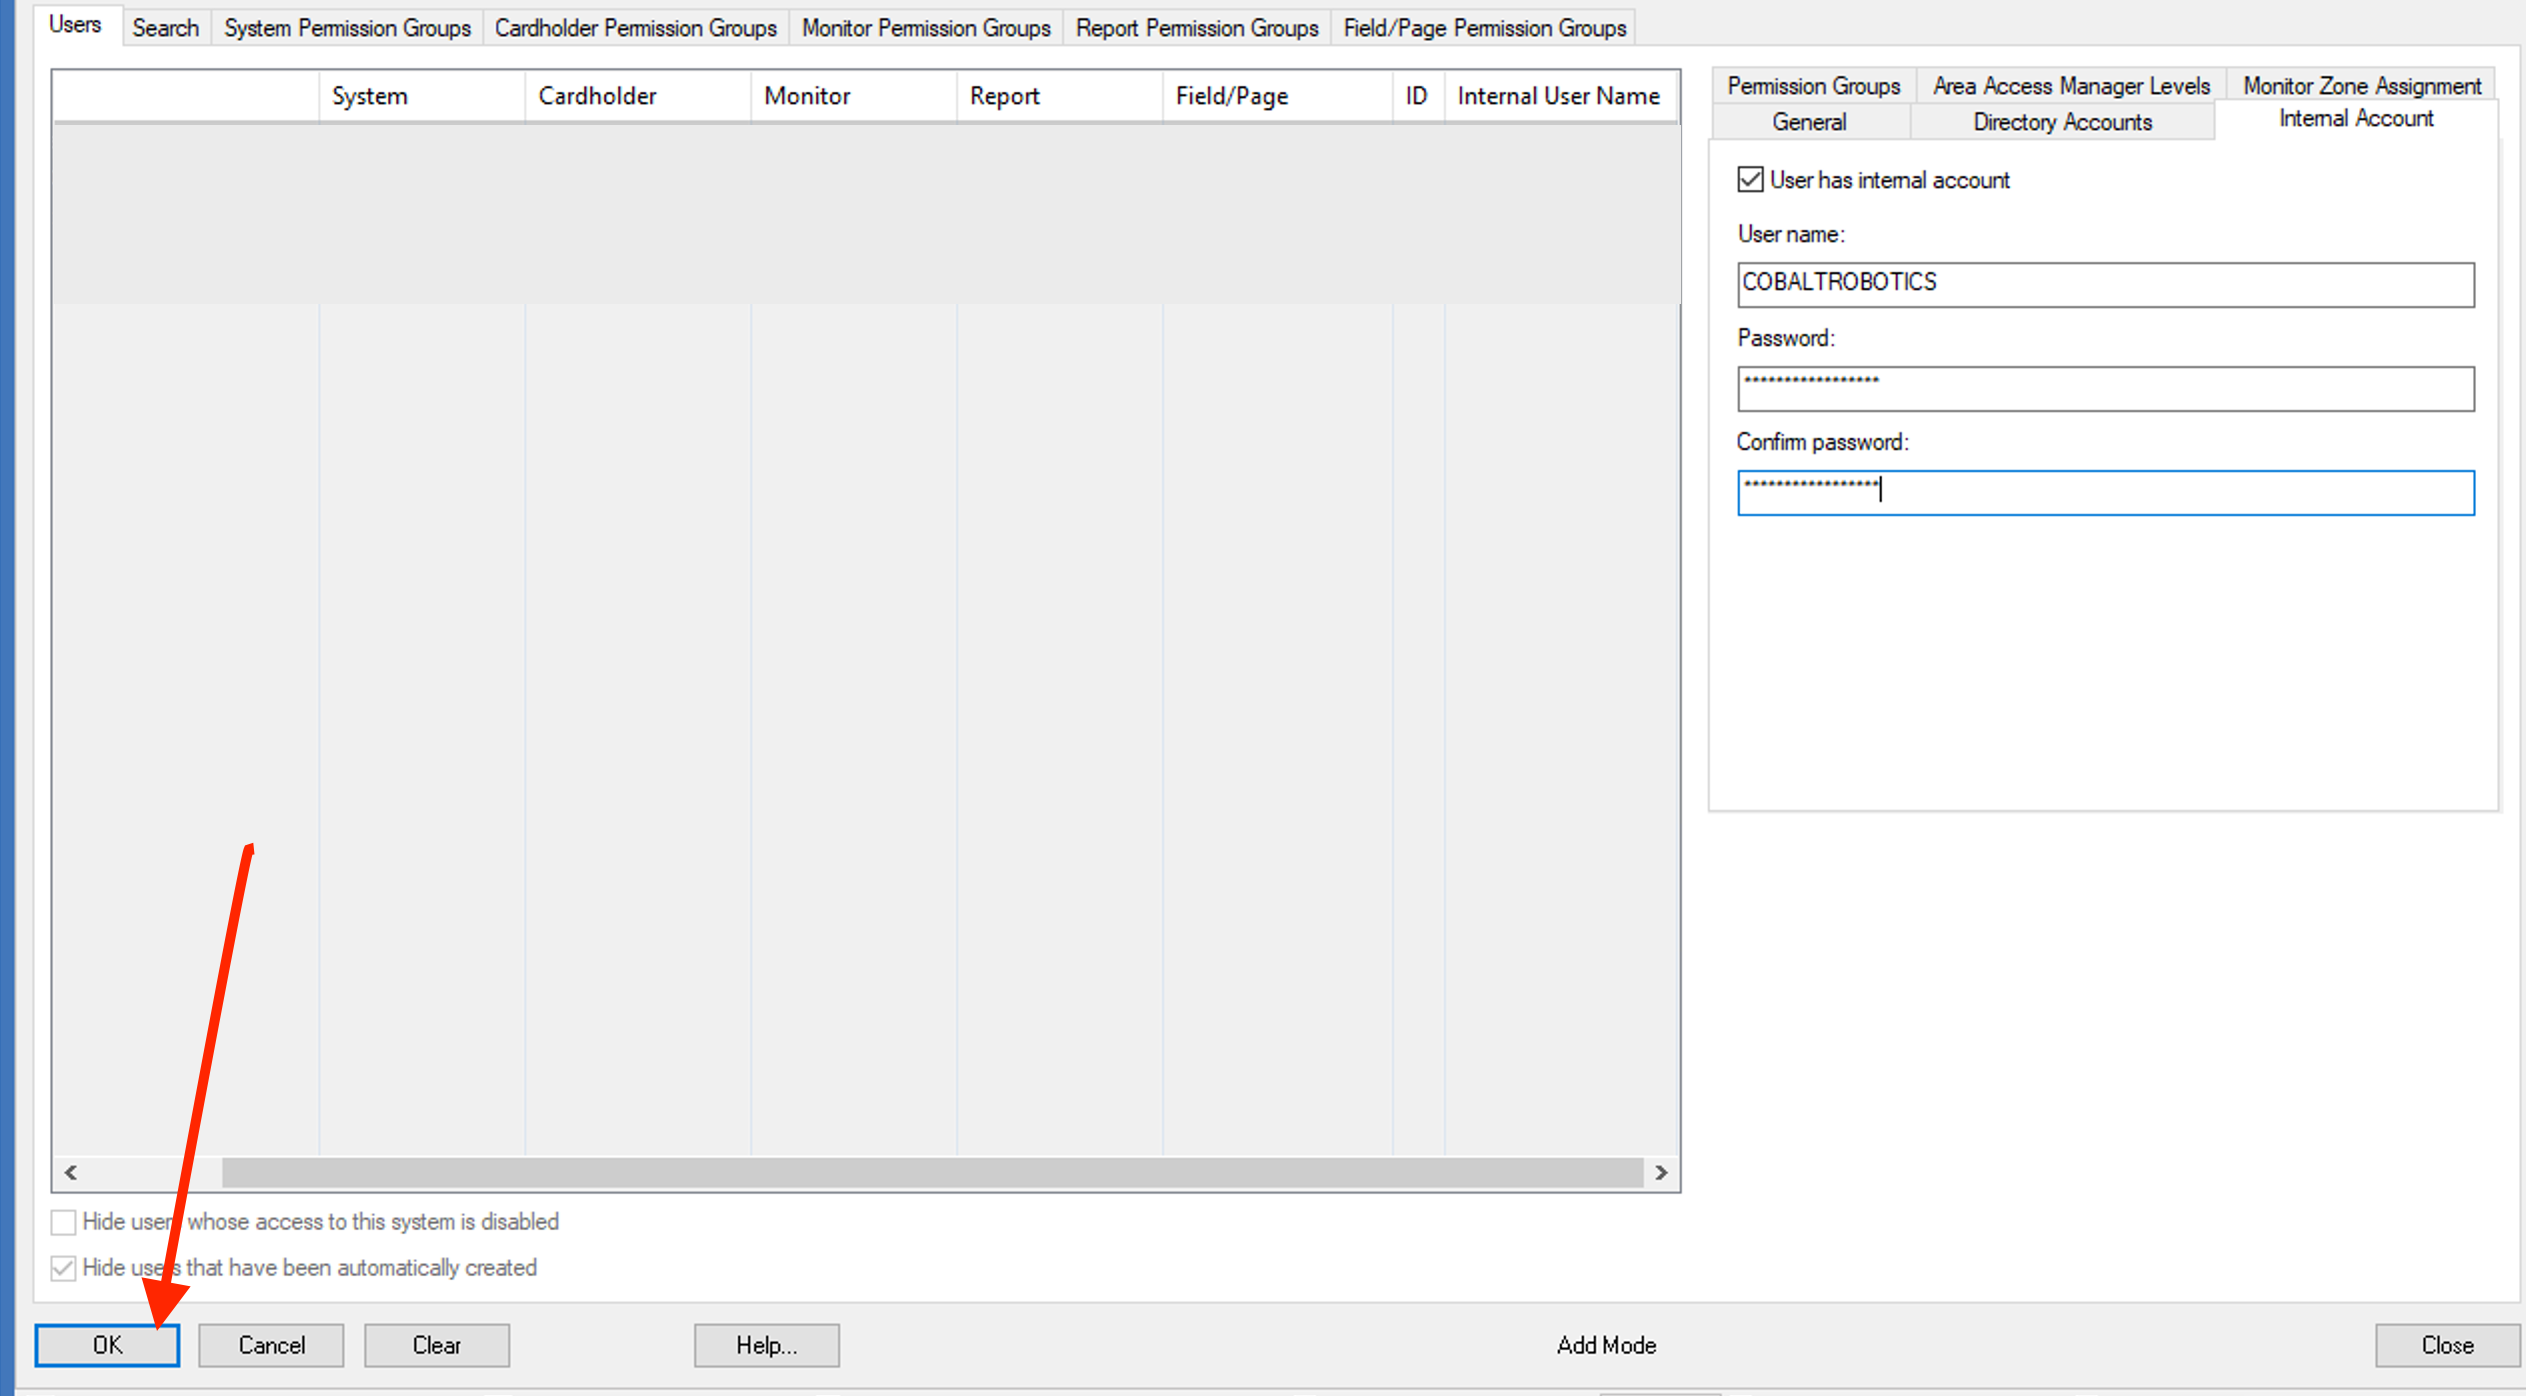
- Select the Internal Account tab, and set the User Name as "COBALTROBOTICS" (no quotes), and set a secure password that you will later share with Cobalt securely.
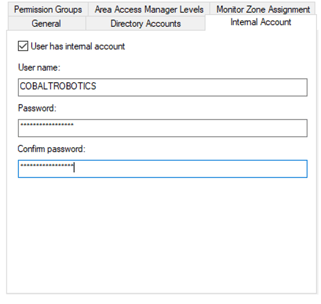
- Use a password manager like BitWarden to generate a secure password. Cobalt's preference is that the password be at least 16 characters long and include numbers and letters.
- Send the user's password to Cobalt Robotics via your organization's preferred secure method. (Cobalt's preferred method of sending passwords is via BitWarden, but we will defer to the customer's preference.)
- Click the "OK" button to save the user.
-
- Ensure all Networking Requirements are completed -- Note: You will need to be given access to view this page. Please contact Cobalt's technical support if you were not provided this document.
- Using the Alarm Monitoring or Administration application, log in as the Cobalt Robotics user and make sure the login works successfully. If you are required to change the password, then change the password and send this password to Cobalt instead.
- Make sure to use a secure method (not email) to send the password to Cobalt.
- After Cobalt has performed the automated configuration (Appendix A), follow Configuration Part 2.
Appendix A: Automated Configuration
This section is only required if Cobalt has not been granted System Admin permissions. If Cobalt has the System Admin permission, then this section exists only to clarify the automatic configuration steps that Cobalt will perform.
- Add the Cobalt sources and devices:
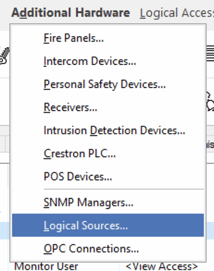
- From the System Administration tool, choose the "Additional Hardware" => "Logical Sources..." menu
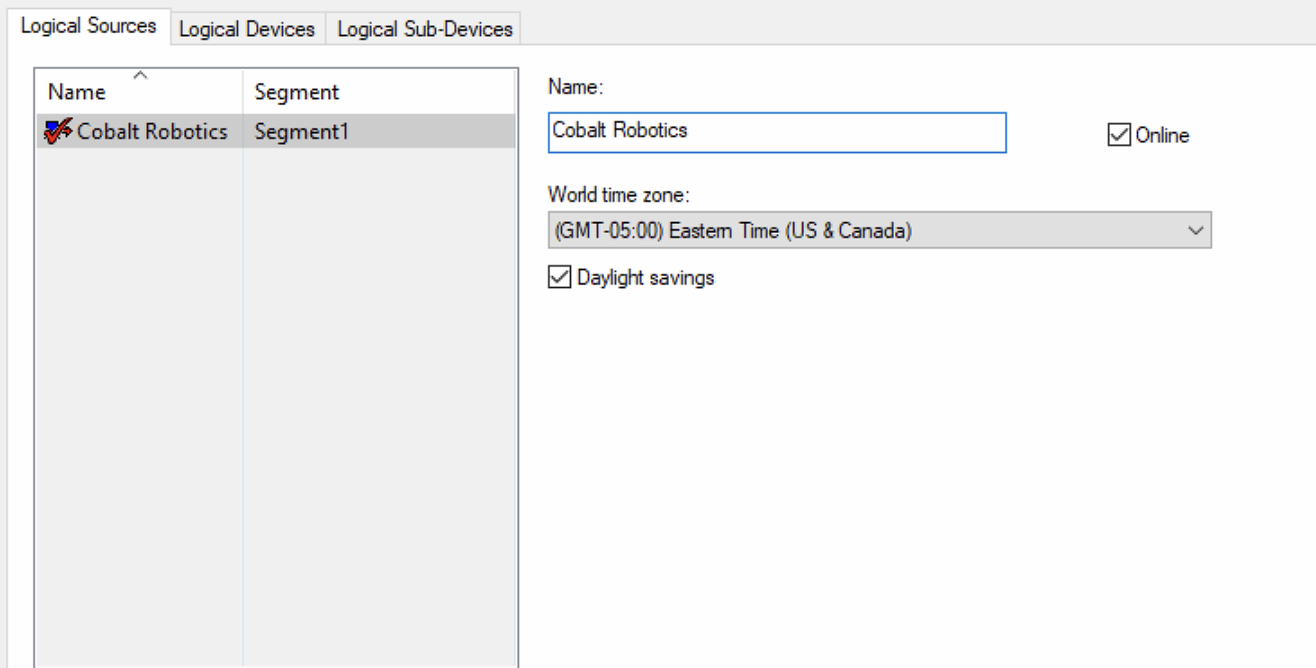
- Choose the "Logical Sources" tab. Add a new Logical Source called "Cobalt Robotics".
- The name must be exactly Cobalt Robotics
- Set this source to whatever segment Cobalt will be integrating with
- Save the new source
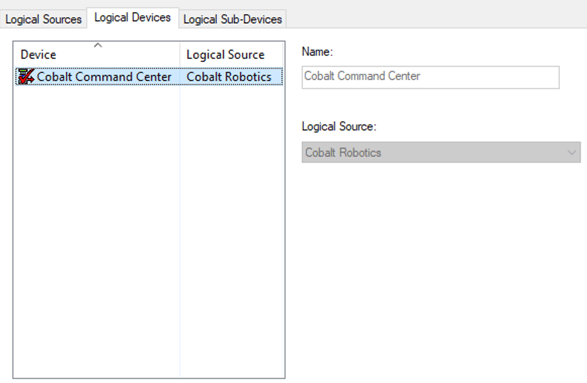
- Choose the "Logical Devices" tab. Add a device called "Cobalt Command Center".
- The device name must be exactly Cobalt Command Center
- Choose "Cobalt Robotics" as the source for this device
- Save the new device
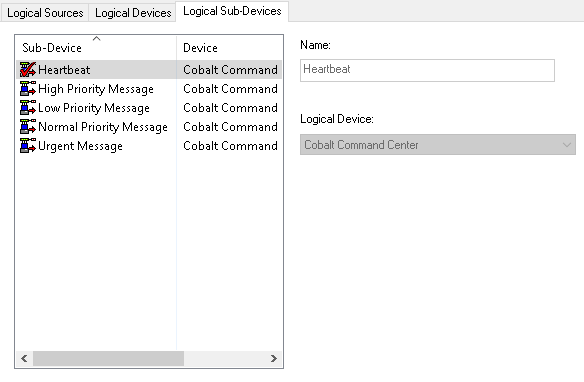
- Choose the "Logical Sub-Devices" tab. Add three Sub-Devices, with the exact following names (but no quotation marks):
- "Low Priority Message"
- "Normal Priority Message"
- "High Priority Message"
- "Urgent Message"
- "Heartbeat"
- Associate each of these Sub-Devices with the "Cobalt Command Center" device.
- Be sure to save the Sub-Devices.
- In the end, it should look something like the following screenshot. (Note: If there is a difference between the text above and the screenshot below, the sub-devices should match the text above.)
- From the System Administration tool, choose the "Additional Hardware" => "Logical Sources..." menu